I’m probably going to come back here and do a ton more with Configuration Templates, because it seems like the possibilities are endless. But for now, I just want to do a quick local password, NTP, and Loopback0 interface config and attach it to the ASR 1001-X.
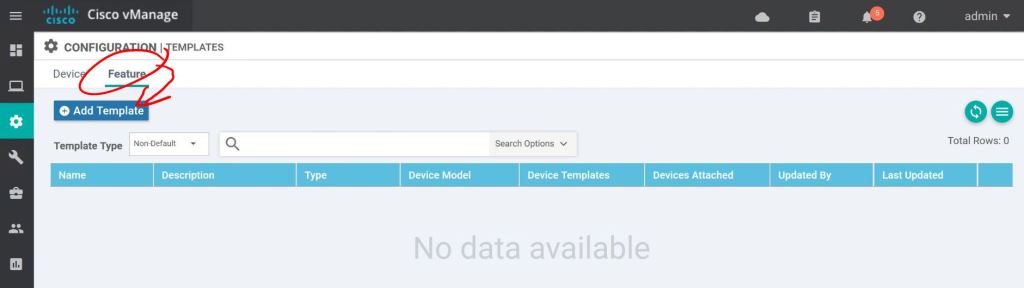
On vManage, go to Configuration > Templates.

Click the Feature tab, then Add Template.
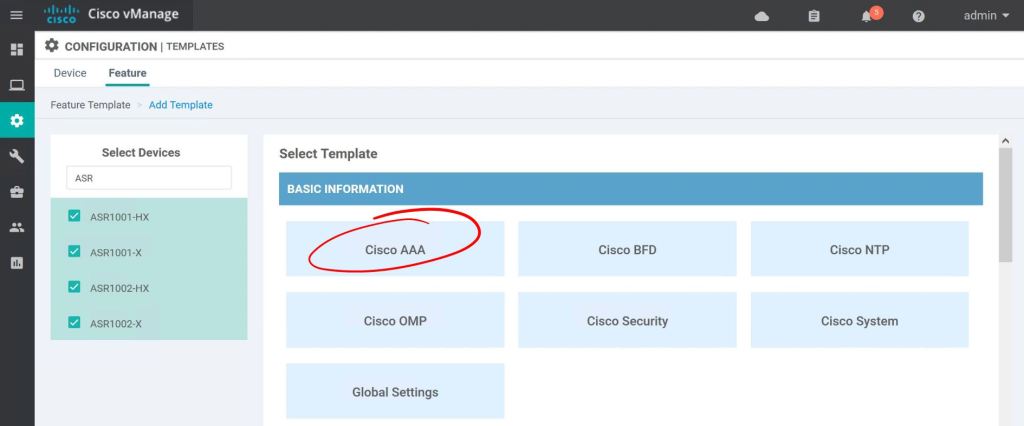
I just want this feature template to only apply to ASR routers. Click the checkbox for each router type and hit Cisco AAA.
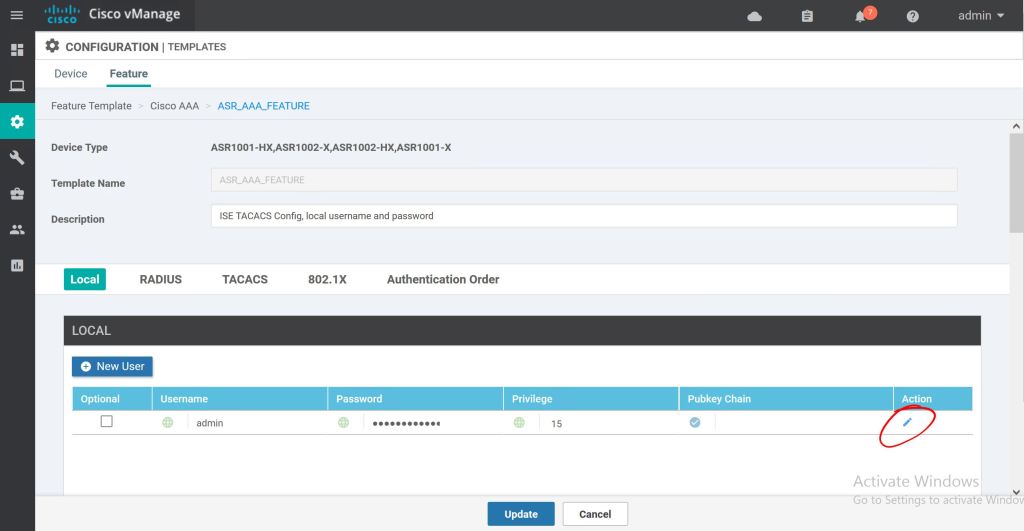
Super simple so far. Just give it a name and description. Then just click the little pencil icon to edit the admin password.
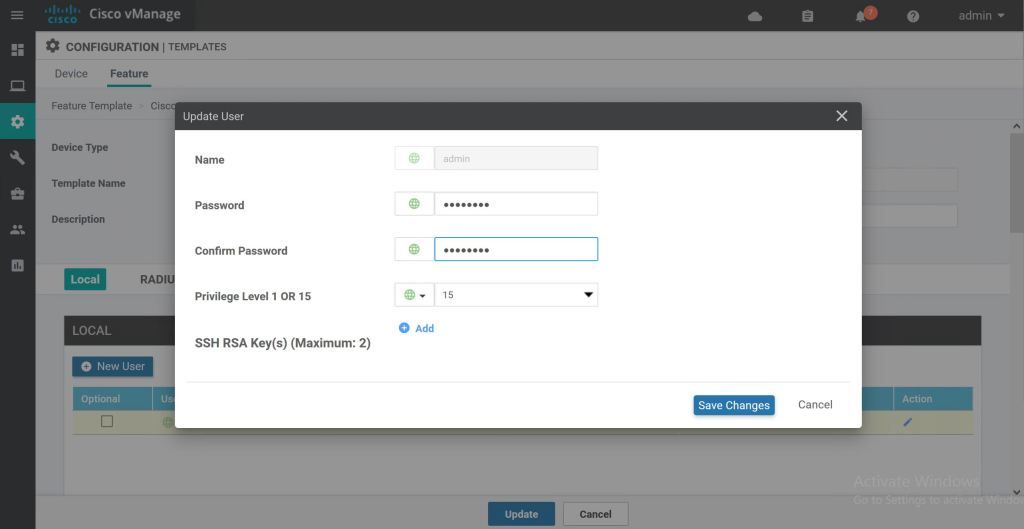
Type in the new password and hit Save Changes.
I tried to click Save without selecting an Authentication Order first and it gave me a big red error. So click the ServerGroups priority order and select local. Now we can hit Save.
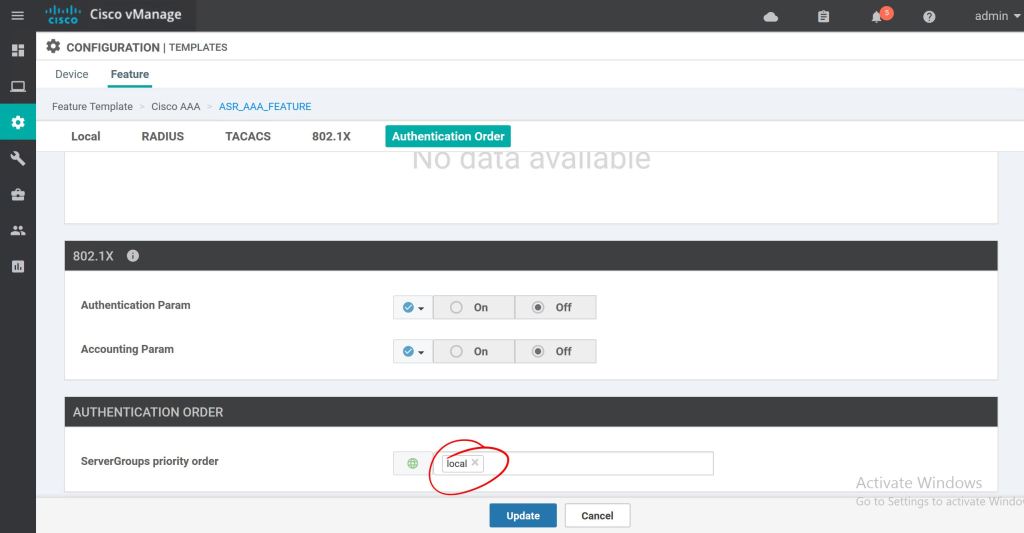
Now we’ve got a nice, shiny new Feature Template. Super easy so far.

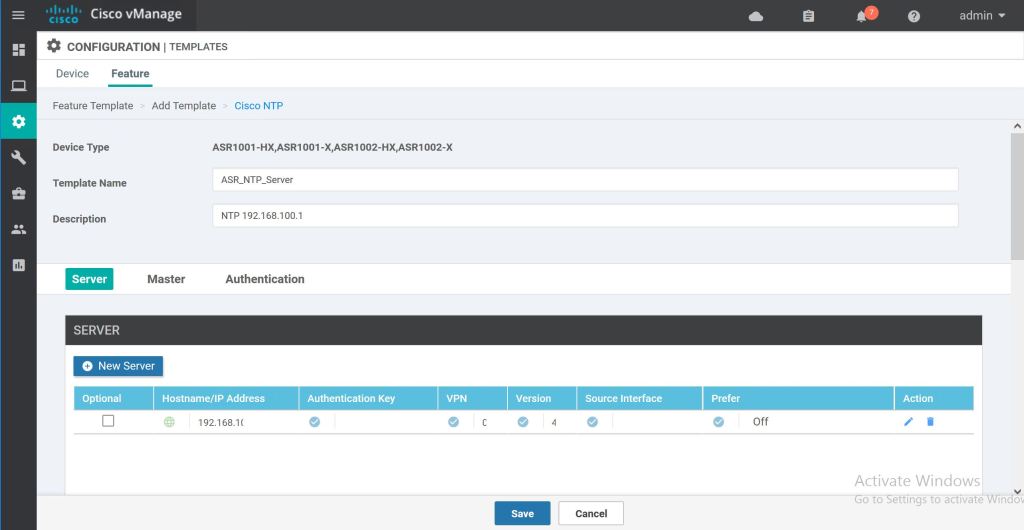
We’ll repeat those same steps for adding an NTP server. Just click to add a new feature template, select the router types, then select the Cisco NTP feature.

The only trick with this one is you have to hit the Add button after inputing the NTP server specifics. Then it gets added as a new line. Do that before hitting Save.
One more time through, but this time using the Cisco VPN Interface Ethernet feature template to add Loopback0.

It’s shutdown by default, so set that to No, then we’ll just type in the Interface Name of Loopback0.
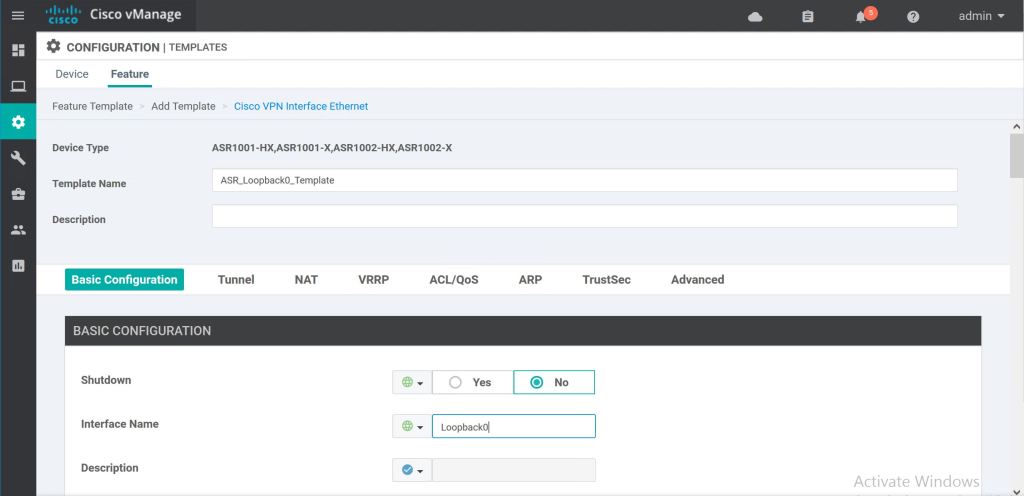
For the IP address we’ll use a variable. We’ll fill that variable value in when we get to pushing the template out. We’re good to hit Save.

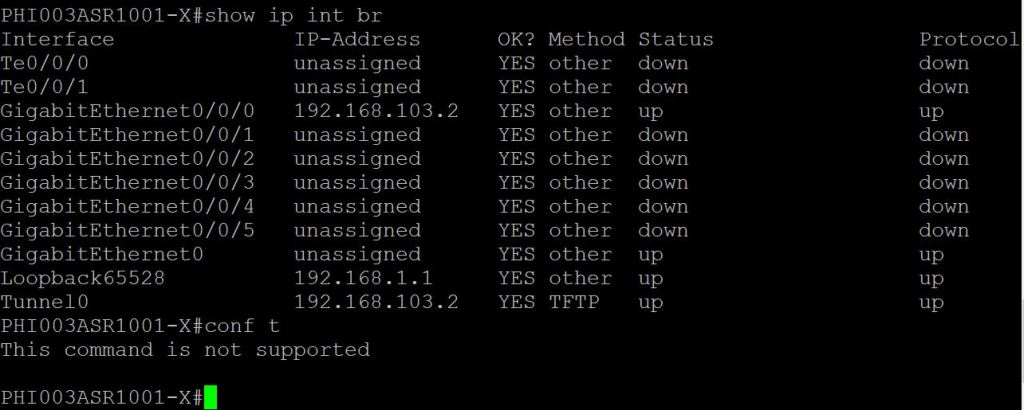
One quick thing to point out, the CLI is on lockdown. We can do show commands, but no configuration.
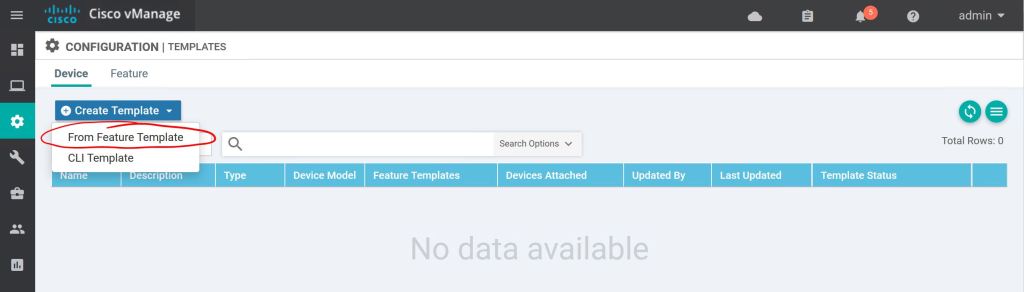
Let’s go to Configuration > Templates > Device to create a Device Template. Click Create Template and choose From Feature Template.
First we just select the device type, then give it a name and a description.
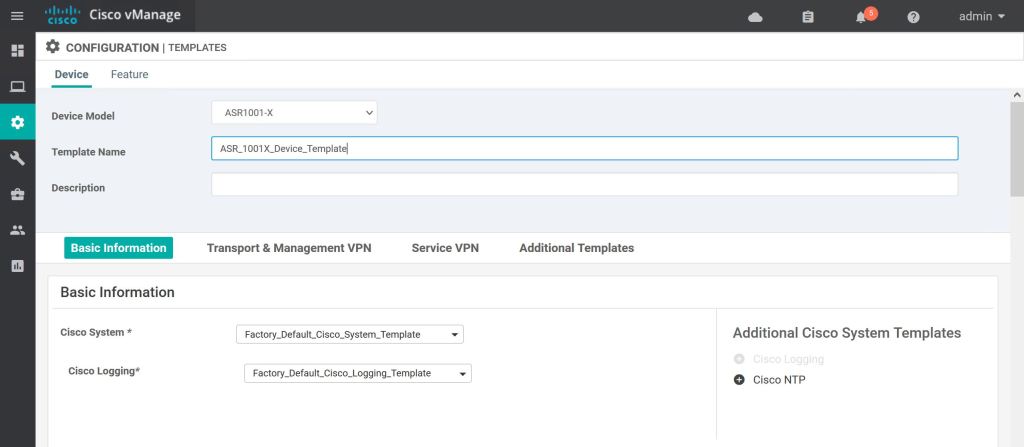
Most of the template settings we can just leave at Factory Default. For Cisco AAA, we’ll select the drop down and pick our custom Feature Template, ASR_AAA_FEATURE.
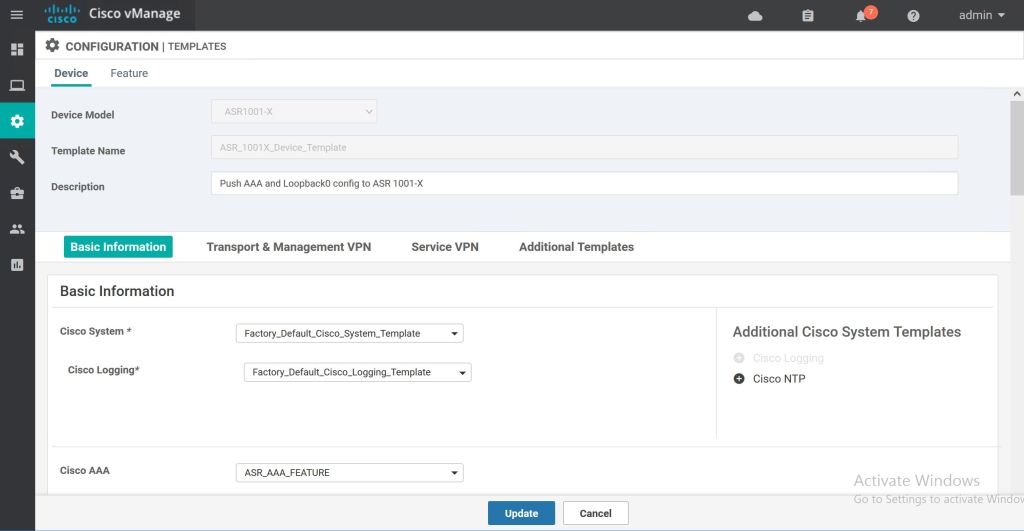
The next one is a little bit tricker. We have to hit the Plus Sign on the right to add the Cisco NTP feature option. Then we can select the NTP Feature Template we created. We have to do the same thing for the loopback. Click the Plus Sign to add the Cisco VPN Interface Ethernet feature template, then click the drop-down and select ASR_Loopback0_Template. Then hit Create at the bottom.

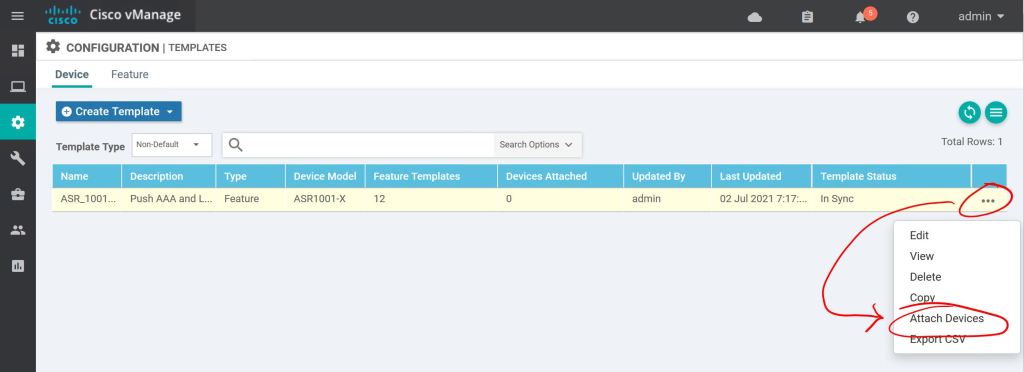
Next part is super easy, too. We just attach the template to the device. Hit the three little dots on the right and select Attach Template.
Pick the router(s) you want to attach this template to and shoot them over to the right with the Right-Arrow in the middle.

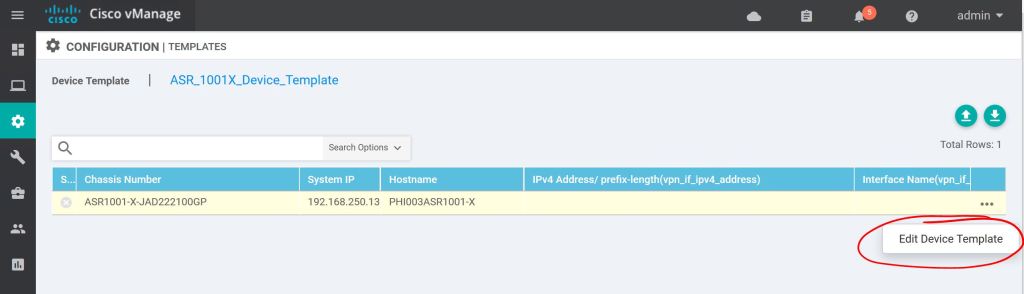
One more thing, we have to edit to template to add our variable.
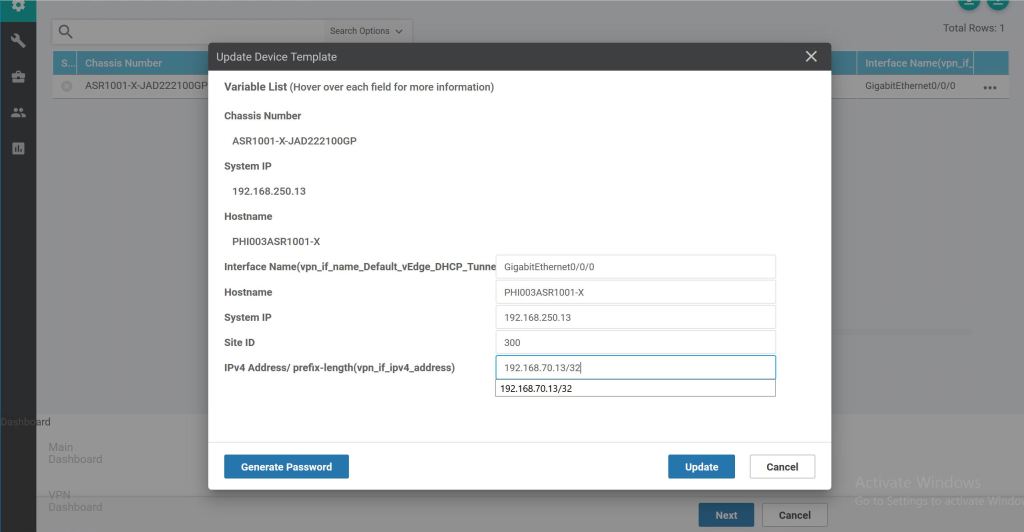
Then it’s as easy as filling in the blanks and clicking Update… sort of. Notice the first four fields are not ones that we created a feature template for. But they’re required, so we have to fill them in. The last field is the Loopback0 variable we had created as part of the feature template process.
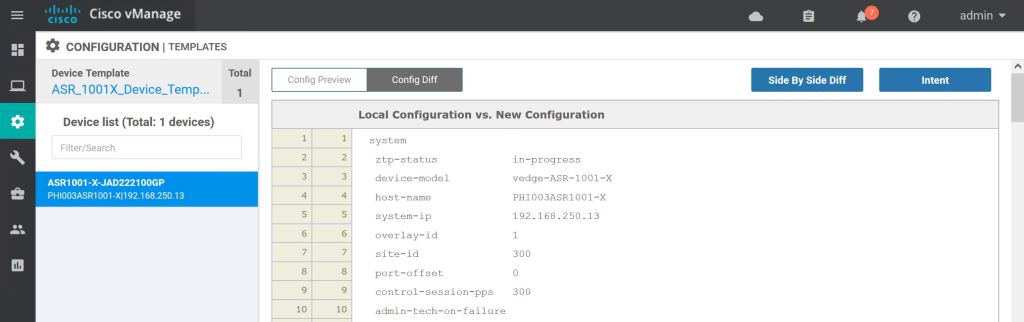
When we hit Next it takes us to a nice preview page. Let’s hit Config Diff at the top to see what changes will be made.
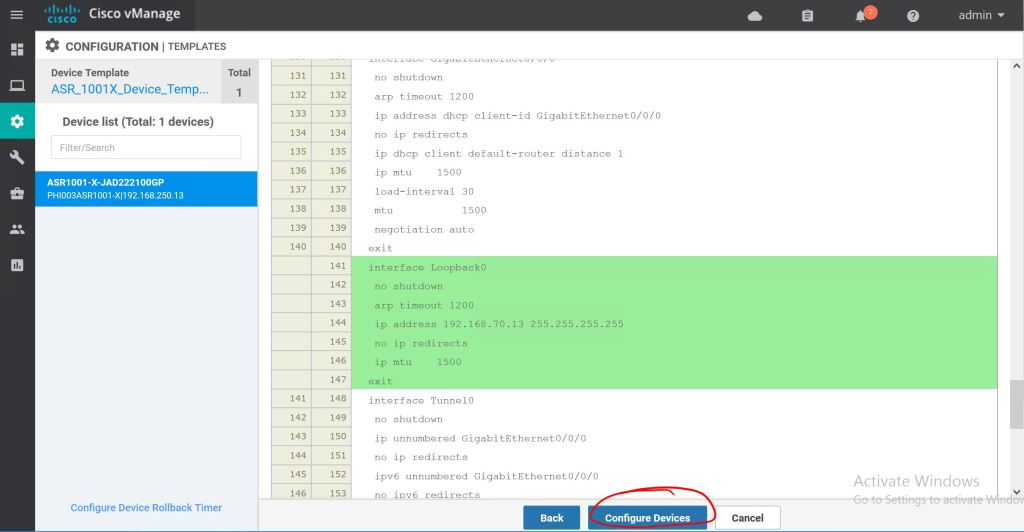
Added config will be highlighted in green, deleted config will be highlighted in red. When we’re ready to push it we just hit Configure Devices.
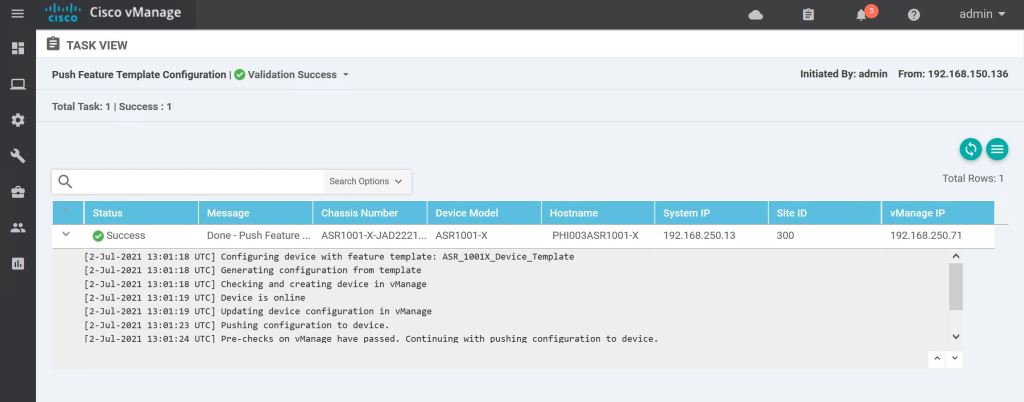
If everything goes well, we’ll get a Success message.
One last thing, let’s look at the CLI and verify the changes.

Everything looks good. Super simple! There are a bazillion options with these template, so it can get pretty hairy pretty quickly. But the steps to just create the feature tempaltes, apply them to device templates, and then just push them to the device are pretty straightforward.
One more thing to mention, this was all done using the GUI templates, but there is an option to use CLI templates. Basically you hand-jam a config and push it to the device. We’re doing Software-Defined-Everything, though, so let’s get away from the CLI for now.
